

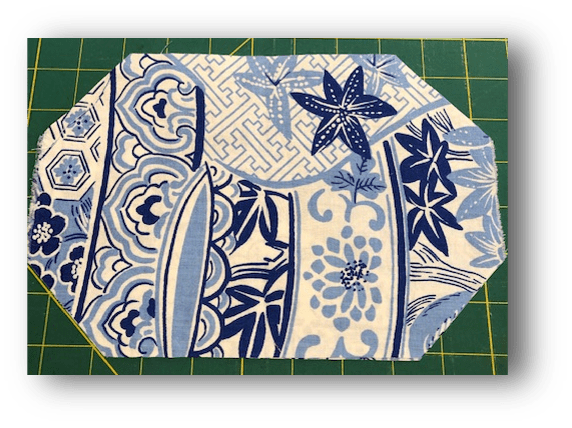
Cut 2 pieces of cotton fabric 10″ wide X 6.5″ high
(this makes an average size mask—to make a larger mask, increase the height from 6.5 to 7” and add 1/2” to the length of the elastic)

shifting.
middle and press.
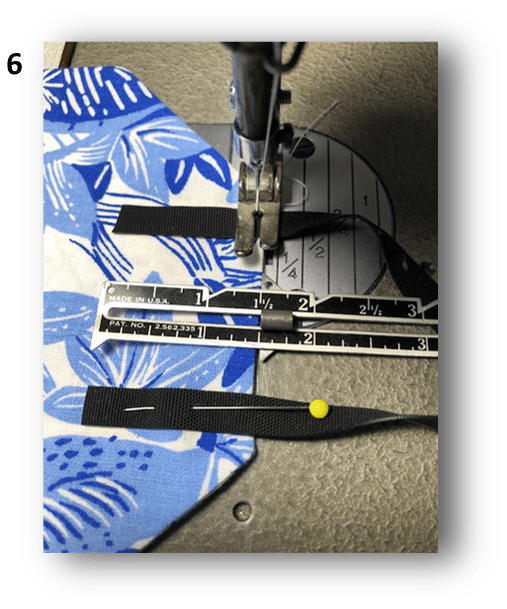
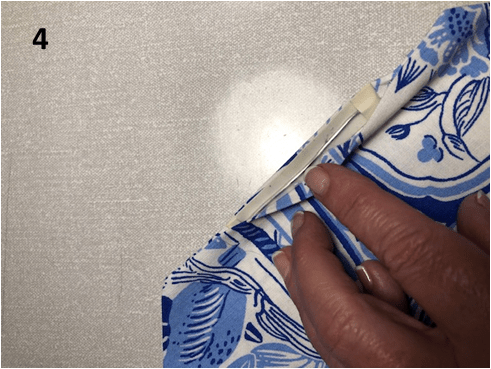
At the sewing machine, open the mask and place one end of the elastic loop 1.5″ in from the edge (as shown in the picture). Stitch it down close to the outer edge. (Elastic length for standard mask is 9″)
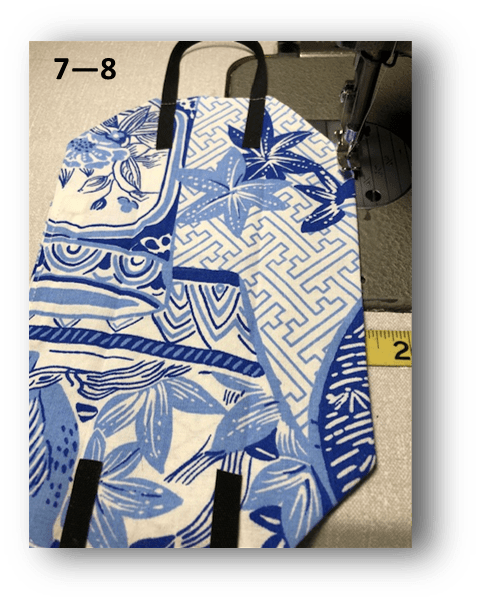
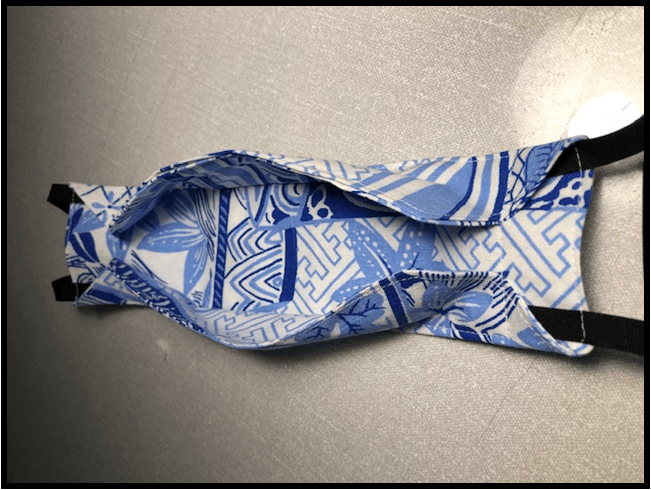
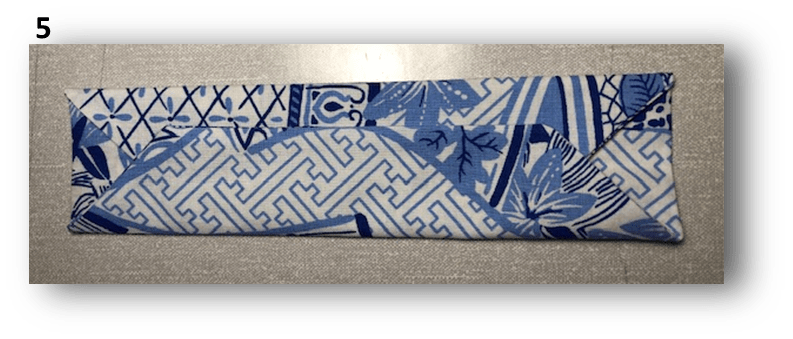
Fold in the upper and lower flaps towards the middle along the fold lines.
Topstitch a rectangle that will hold down part of the flaps forming the 3D mask.
Start the stitching 1” from the outer side edge and close to the horizontal edges.
Here is a link to a helpful video for mask construction (without the nose wire) https://www.youtube.com/watch?v=Pih-C3phQ6A&t=159s
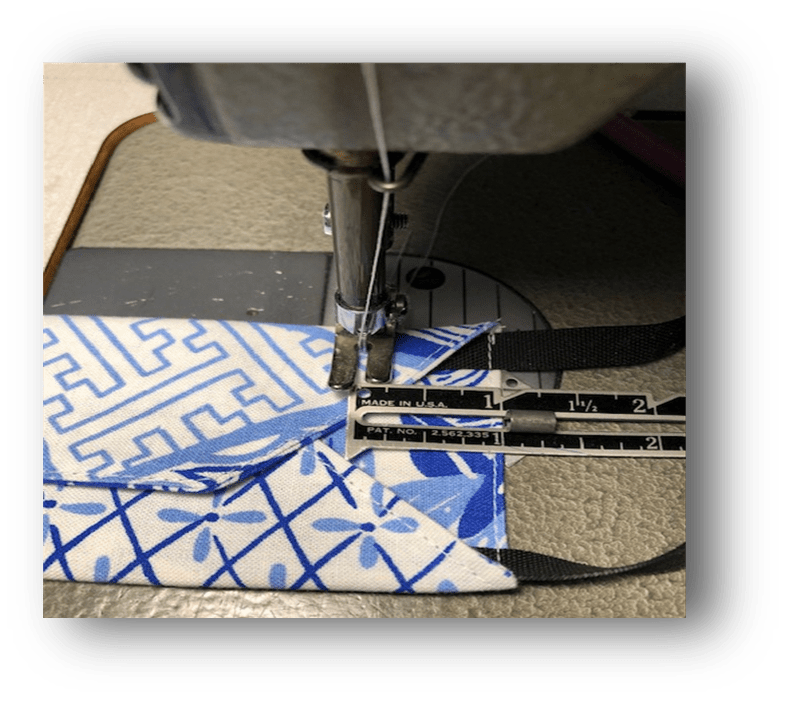
When you get to the opposite (elastic side) remember to continue your topstitching 1″ in from the edge.
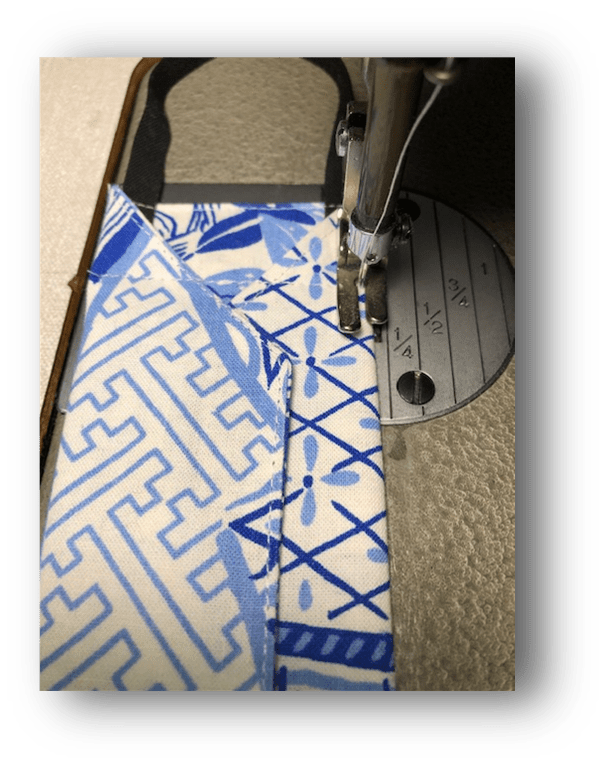
Pivot and finish your top stitching along the remaining top edge.
For added protection, you may wish to insert a layer of fusible interfacing to the centre section of the outer layer. Bonus! The interfacing will also add structure that will keep the mask away from your mouth.
